How to Take Apart a Bike Cassette – Introduction
Whether it is because you want –or need- to change your bike cassette, or because you want to keep your old one for a new bike you have acquired, there are some precautions and steps to bear in mind when going through this process.
Take a ride through this article to learn about what tools are needed, and how to choose the correct bike cassette for your gear.

Necessary Tools to Take Apart a Bike Cassette
Tools are very important throughout this process. Not only because they make it easier –or even possible- but also because using the correct ones will ensure a damage-free intervention.
Remember that when working on your bike on your own, it is of high importance to take care of both your gear and yourself. Here’s a list of the tools you’ll need to take apart a bike cassette.
- A cassette lockring remover is an adapter that fits your wrench. If in need of acquiring one, check for compatibility.
- A chain whip will prevent your chain from slipping.
- Grease or anti-seize lubricant is important, both for removal and re-installation.
Parts of a Bike Cassette
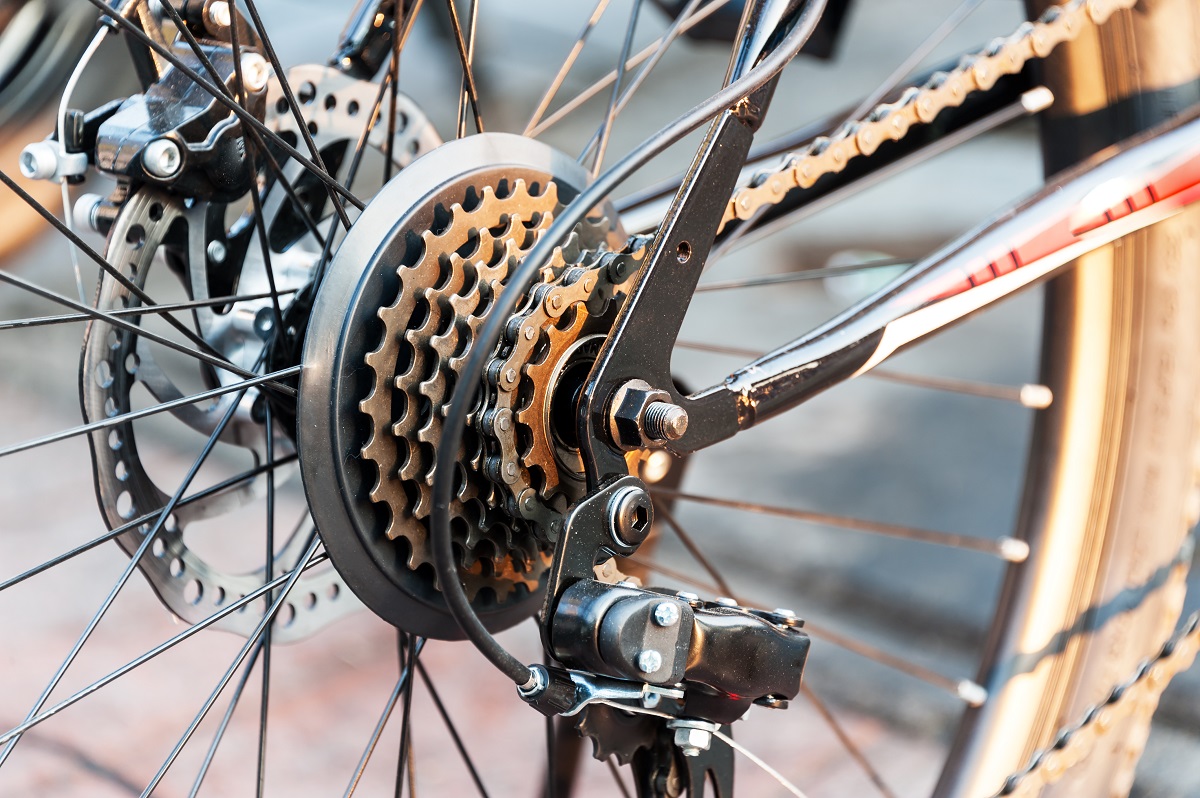
As with every other piece of gear you want to put your hands to work in, it’s of high relevance to know how a bike cassette is built, and how it basically works. Sprockets may be separated by spacers in between them, or pinned to one another.
The group of sprockets, whatever the type, fits onto the freehub body. The cassette is held in place by a lockring. Since there are different types of lockrings, you should check which remover is compatible with yours.
How to Take Apart a Bike Cassette
Taking a bike cassette apart is not a difficult task. As a preliminary step, you should remove your rear wheel. Bear in mind that depending on the type of bike, this process may differ and become more complex.
Once the rear wheel is removed, locate the lockring and insert the lockring remover. If you find out that torque is not enough, or that it slips when applying it, you can remove the nut, insert the remover, and re-install the nut again, so as to gain leverage.
Use the chain whip to keep the sprockets from rotating as you apply torque. Apply grease or lubricant, and turn anti-clockwise to remove the cassette.Check this video on how to take apart a bike cassette (credit to Park Tool):
Tip: If you need to store your bike cassette for later use, tie the sprockets altogether. Thus, you will ensure the correct sprocket order is kept.
Different Types of Bike Cassettes
If you need to take apart your bike cassette due to upgrading, but still haven’t decided on which cassette is the right one for your ride, you should know that this depends a lot on the type of riding you do.
Different grounds, goals, and conditions have a corresponding cassette in order to both endure and improve your activity.
The main difference between each type of cassette is in the spread of its gears. A big difference between the biggest and the smallest sprocket will provide a wide range of gear ratios for you to choose from, whereas a narrower difference will ensure fast and smoother gear shifting. This last one helps prevent ghost-shifting, too. As you can tell, there is no one-size-fits-all solution!
